I'm sitting here, typing with cold hands, thinking of soup. All kinds of lovely soups, and how I just want to wrap my hands around a warm bowl. Hold on a second, I'm envisioning it right now............ Shoot! I thought if I really got into the visual, maybe I could trick my brain into thinking my hands are warm. Nope, didn't work. Well, the next best thing would be to actually make some soup. Wait, I think the cold has done something to my brain! Next best thing? No, it's better - homemade soup is much better than just thinking about soup!
I decided to make a roasted tomato soup, which means that we will have grilled cheese sandwiches with it. I must have grown up in a bubble when it came to grilled cheese because we never had tomato soup with our sandwiches, but it seems to be a universal combo, and my husband loves it. I would actually prefer just the soup. Grilled cheese sandwiches are not among my favorite things. So when I make them for myself, I jazz things up a bit - different cheeses than the plain, old American slices and I add things in the middle, like pesto. That's how my daughter likes them, too, but my husband and son want regular grilled cheese - nothing fancy. I digress. This is about the soup.
Until a few years ago, I had never made homemade tomato soup. I was always content with the Progresso brand, which is really quite good. Then I saw a tip on Food Network for a simple tomato soup using canned tomatoes. The guy, and I can't even remember who, said the trick was to roast them in the oven, then they didn't tasted "canned" anymore. Of course I had to try it, but I really wasn't expecting it to turn out so well. Seriously, one of the best tips I have come across in recent years. Once again, roasting works its magic and turns a boring can of tomatoes into the base of a wonderfully flavorful soup.
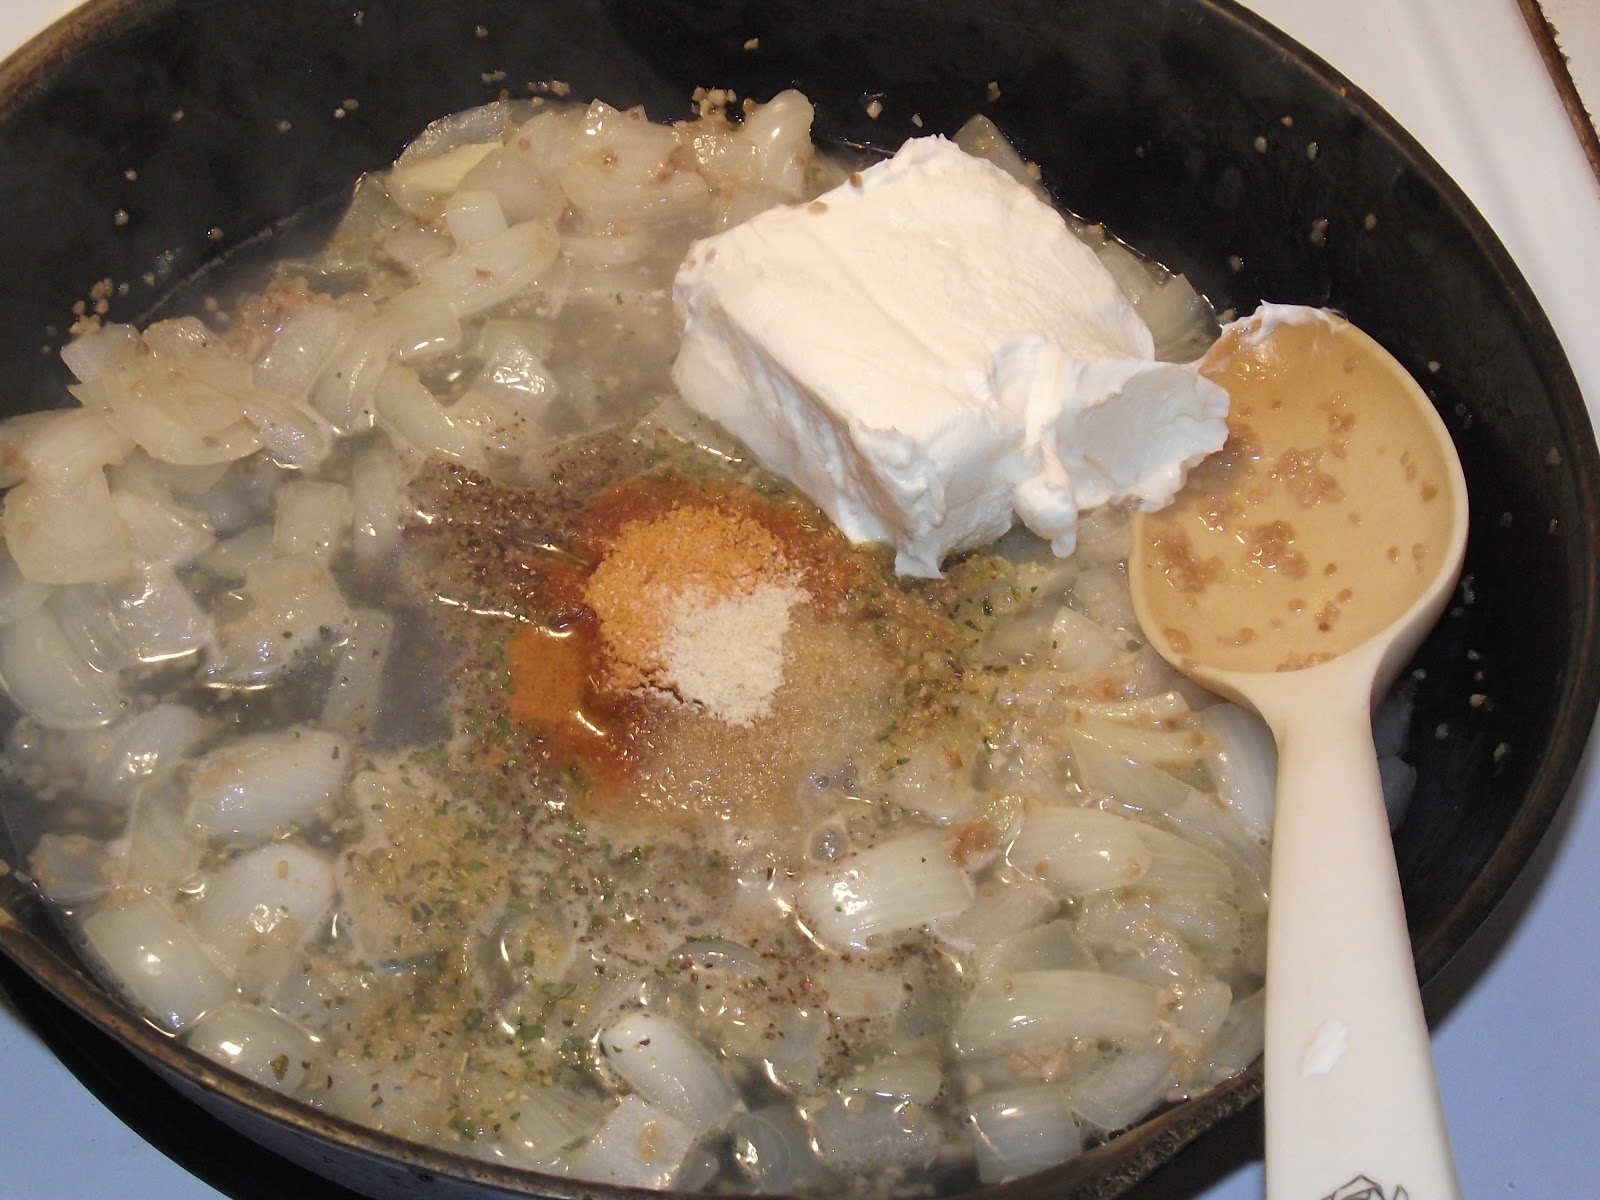
Here's your Cast of Characters.
.jpg)
4 (14.5 oz.) Cans diced tomatoes
2 Onions
4 Cloves of garlic
3 Tablespoons olive oil
2 Cups chicken broth
2 Cups fat-free half and half
1 1/2 Teaspoon Lawry's season salt
1/2 Teaspoon freshly ground pepper
1 Teaspoon Mrs. Dash Onion & Herb seasoning
1 Teaspoon McCormick Perfect Pinch Garlic & Herb seasoning
1 Teaspoon McCormick Tuscan seasoning
1 Teaspoon McCormick Sicilian seasoning
Preheat oven to 425.
Rough chop onions and garlic.


You don't want the garlic pieces too small or they will burn instead of roasting.
In a large mixing bowl, pour in cans of tomatoes, juice and all. Add onions, garlic and olive oil.

Stir well. Spread out on a large baking sheet lined with foil. Sprinkle generously with all seasonings (not the measured amounts - those go in the soup).

Mix seasonings in well.
Roast in oven for 45 minutes - 1 hour, stirring often. You'll know it's done when the garlic and onions have become translucent, and the liquid from the tomatoes is all gone.

Place half of the tomatoes in a large pot.

The other half goes into a food processor. Puree until smooth.

Place that in the pot with the chunky tomatoes. Add remaining ingredients in.

Cook on medium-low until the soup has heated through and the seasonings have had a chance to meet and get cozy with each other. Do not boil! It will cause the half and half to separate. It will taste alright but won't look attractive!

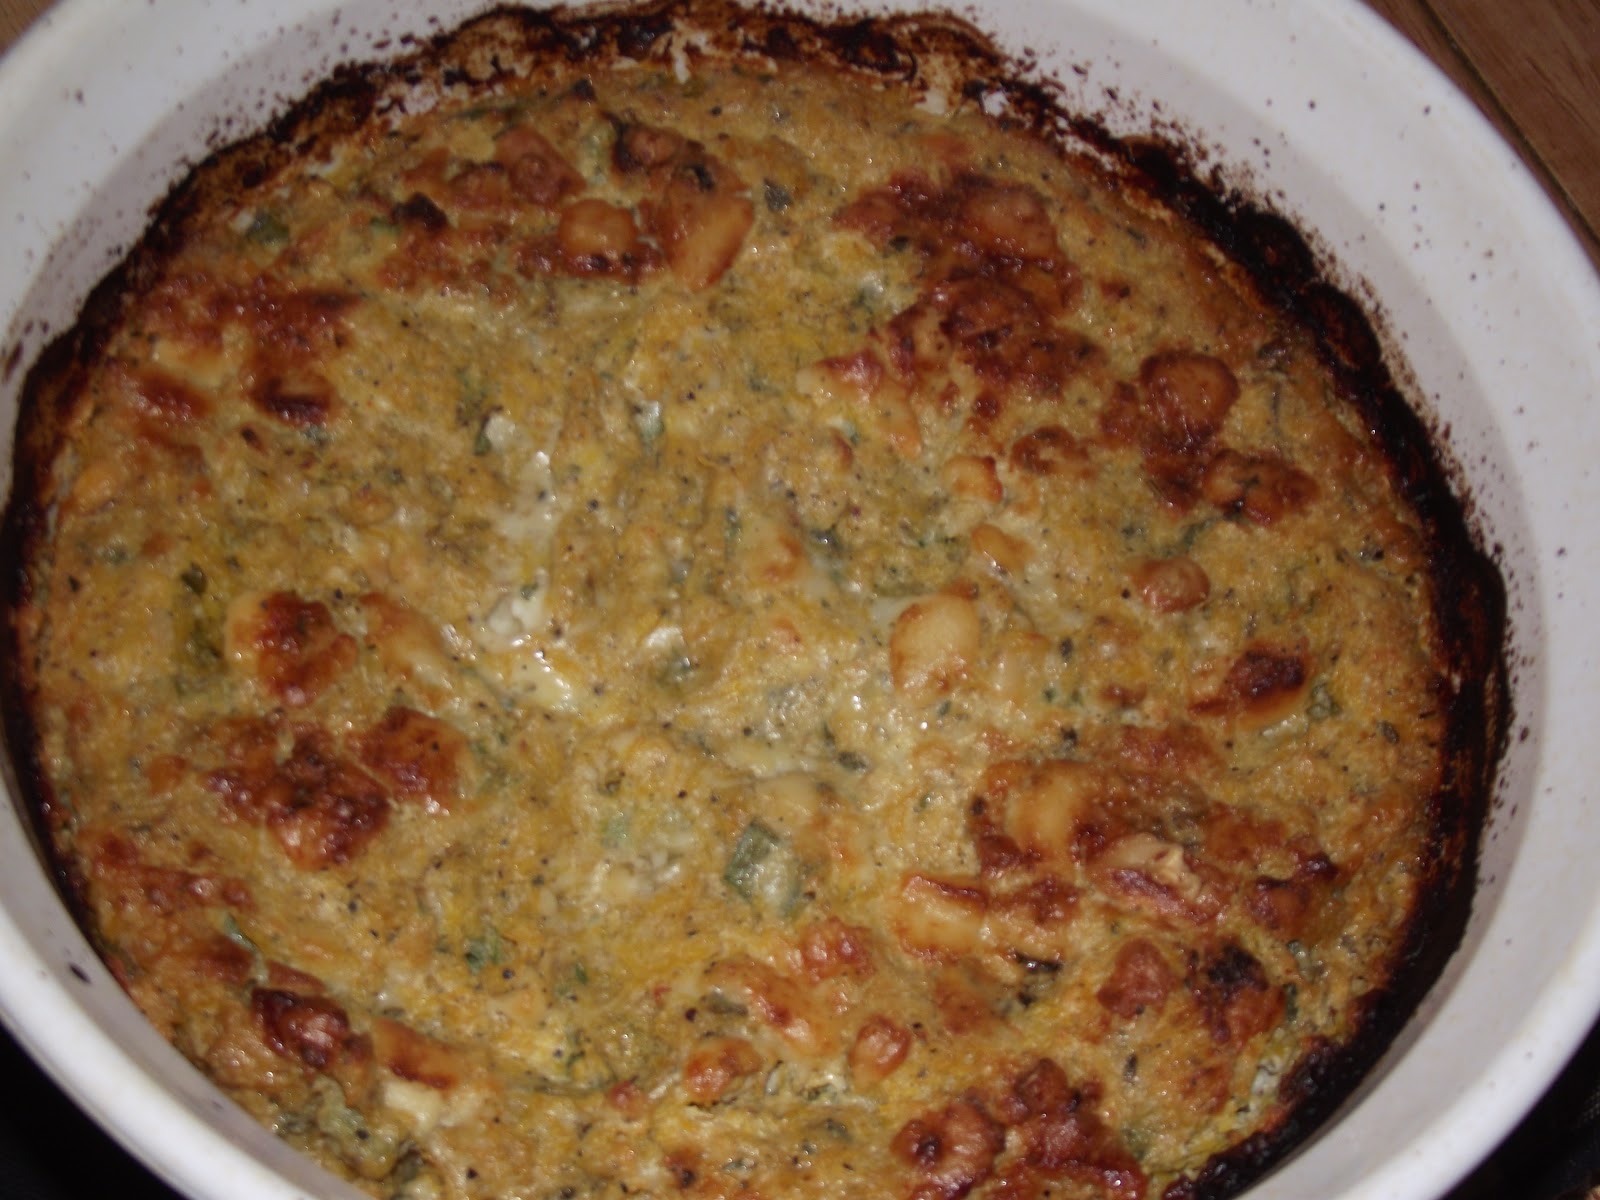
There's my pesto grilled cheese. They were great together!

Here's where you can see the chunkiness of it. If you want a smoother soup, puree all of the tomatoes. I just like something with a little substance to it.
Enjoy!

.jpg)