Thursday, May 9, 2013

Quick Thai Chicken Pizza

I think a while back I mentioned a new favorite restaurant:  MacKenzie River Pizza, Grill and Pub, and I wanted to reiterate, if you get the chance, eat at one.  They have amazing food and a great atmosphere, and you won't regret it.  My favorite thing is their Thai Pie, which is what inspired tonight's recipe.  It has Thai peanut sauce, basil chicken, Mandarin oranges, scallions, red peppers, peanuts, cilantro and mozzarella.  The flavors compliment each other superbly, and I just can't get enough.  Unfortunately, I don't get to Bismarck that often so I knew I would have to come up with my own version.  Mind you, it doesn't compare to the real thing, but it was still pretty tasty and gave me the fix I needed.

When I was contemplating making it, I knew I wanted it to be as easy as possible.  Enter store-bought pizza crust and peanut sauce, and leftover boneless, skinless chicken breasts.  Perfect for even a weeknight meal.

Here's the thing, I didn't take very many pictures, and no Cast of Characters one, because originally I wasn't going to put it on the blog.  Then, about halfway through, I thought to myself, "Self, why not share this recipe?  There are others who would enjoy it, too."  That's when I decided to grab my camera and get to work.

Here's your Cast of Characters:

1 Tube store-bought, thin crust pizza dough
1 - 2 Cooked, boneless, skinless chicken breasts, diced and tossed with 1/2 tsp. dried basil (I had leftover Curry Chicken Breasts, which worked beautifully)
1 Bottle of your favorite peanut sauce
1 Small can of Mandarin oranges, drained
3 - 4 Green onions
Red pepper flakes
Salted, roasted peanuts
Cilantro
Mozzarella cheese

Spray a 10 x 15 pan with non-stick cooking spray.  Line it with the pizza crust.  Precook for 5 minutes.  Remove and spread a thick layer of peanut sauce on top.  Sprinkle chicken pieces, pepper flakes and Mandarin orange slices evenly over crust.


I kept a little row free of orange slices since I wasn't sure my husband would like it, which was needless.  He was a fan of both ways.

Next, use kitchen shears to chop green onions and cilantro over the top of the chicken.  Sprinkle peanut halves all around.


Top lightly with mozzarella.  Remember, the cheese is meant to hold things together but not to overpower the other ingredients.  Drizzle a little more peanut sauce all around.


Bake for another 10 - 12 minutes, or until heated through.  Turn broiler on low to brown the top just a little.


Slice up, and serve immediately.


Enjoy!


Tuesday, May 7, 2013

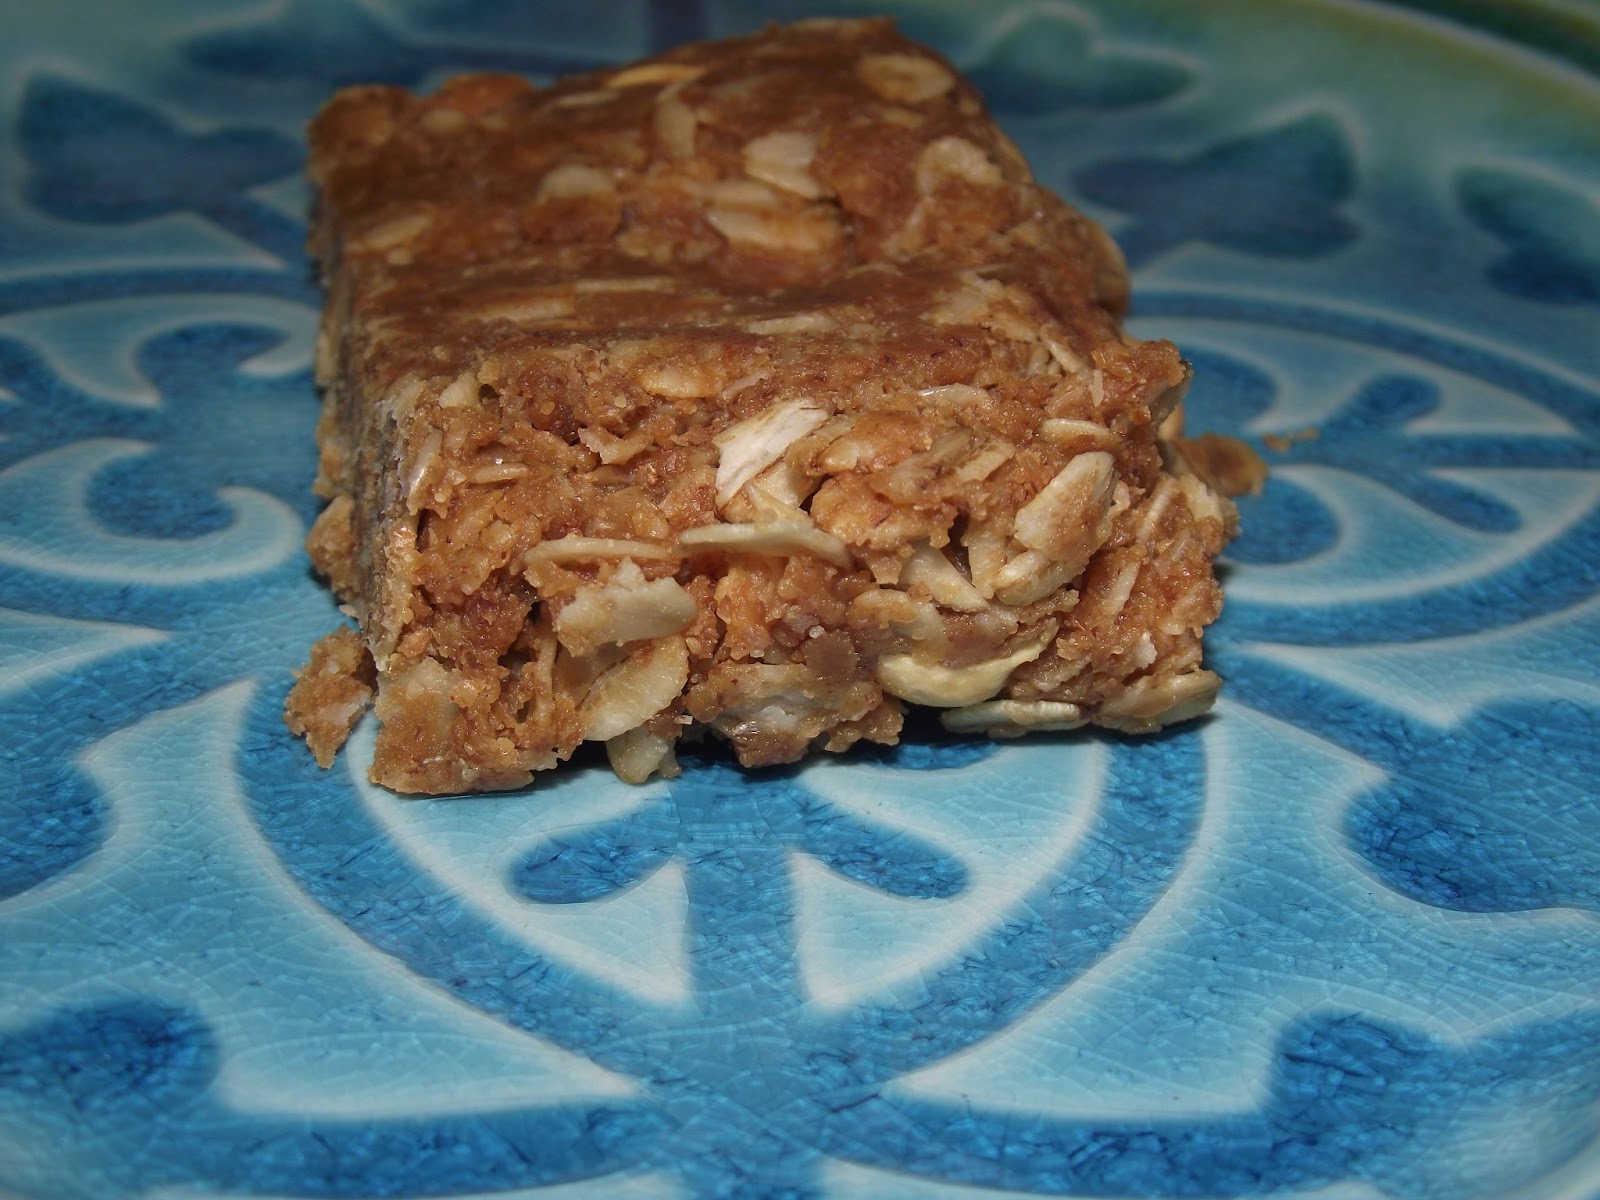
Peanut Butter Honey Breakfast Bars

For a while now I have been hunting for a guiltless breakfast bar recipe.  I wanted something with peanut butter, honey and old-fashioned oats but couldn't find exactly what I was looking for.  Finally, I just decided to come up with my own.  This was my first attempt, so I wasn't sure how it was going to turn out, especially since I was using the microwave.  Thankfully, I kept it simple and was pleased with the finished product.

I wasn't the only one who liked it - my kids thought it was great.  They really couldn't believe that it wasn't a dessert, and was okay to eat for breakfast.  I kept reassuring them that it was actually very healthy, as well as filling, and I meant for it to be a quick breakfast food.  They snatched them up!

Here's your Cast of Characters.


2 Tbsp. unsalted butter
1 Cup natural peanut butter
1/2 Cup honey
2 Cups old-fashioned oats
1/2 Cup flax seed
1/4 Cup wheat germ
1/2 Cup salted, roasted peanuts
1 Tsp., each, vanilla and cinnamon

In a large mixing bowl, add butter, peanut butter and honey.  Microwave on high for 1 minute.  Stir well.  It should be very smooth and creamy, at this point.


Microwave for another minute.  It should be just starting to bubble now.


Mix again.  Microwave for another 30 seconds.  Stir in remaining ingredients, mixing well.


Microwave one final time, for 1 minute.  Stir the crumbly mixture again, before patting into a greased pan.


For thicker bars, you can use an 8 x 8 square pan, or a cake pan for thinner bars. 

Let cool completely before cutting, and eating, about 30 minutes.


Enjoy!


Thursday, May 2, 2013

Shallot and Pecorino Romano Twice-Baked Potatoes

Twice-baked potatoes are one of my son's favorite foods, and a couple of weeks ago he requested them for Sunday dinner.  He asked so nicely that I couldn't refuse, but I didn't have any of the ingredients that I usually put in them.  That's when I started to peruse my refrigerator for inspiration.  Luckily, I spotted shallots and the recipe started to build itself from there.  I was only hoping that my son would like these as well as my normal potatoes.  Thank goodness I didn't have anything to worry about!  He gobbled them up, and promptly told me that he liked this kind of twice-baked potatoe even better.  Whew!

Here's your Cast of Characters.


4 - 6 Medium potatoes, baked right before starting this recipe (I particularly like Yukon Golds)
1 Medium shallot
3 Garlic cloves
2 Cups Pecorino Romano, shredded and divided
1 Tsp. peppercorns
1/4 Tsp. fennel seed (optional)
1 Tsp., each, Lawry's seasoning salt and McCormick Perfect Pinch Garlic & Herb seasoning blend
1/2 Cup fat-free half & half

Preheat oven to 350 degrees.  Line a cake pan with foil.  Finely dice the shallot and garlic.


Saute, with a drizzle of olive oil, until garlic is golden brown, stirring frequently to prevent burning.


Crush peppercorns roughly, then add in fennel seed, crushing a little more.  You don't want these to be too fine, though.


By now, potatoes should have cooled a little.  Use a sharp knife to slice potatoes lengthwise, leaving them attached at the bottom.


Use a large spoon to carefully spoon out the flesh of the potato, leaving a thin layer so the skin doesn't tear.


Place the potato skins in the cake pan.


Mash the flesh with the shallots, garlic, 1 1/2 cups cheese, seasonings and half & half.


Spoon the filling back into the shells, filling very full.


Divide the remaining cheese among the potatoes, placing it carefully on top.


Bake, uncovered, 45 minutes to 1 hour, until heated through and starting to brown.


Enjoy!


Tuesday, April 30, 2013

Honey Chipotle Barbecue Sauce

I'm sorry that I have been MIA for the last couple of posts.  I was sick and not feeling well enough to write for a few days.  The good news is, during that time, something wonderful has happened here!  Come closer and I'll tell you what it is.  Closer.  Spring has finally arrived!  Sorry for the secrecy and hushed tones, but Springtime is a shy and elusive creature and I didn't want to scare her away.  She had teased us a few days here and there, making us think that Winter was done, only to run and hide when said Winter bullied it's way back in.  But, there's no denying the warmer temps of the past few days, which has successfully melted most of the snow.

It's amazing the difference this moderate weather has on my mood.  Springtime makes me happy.  I'll put up with the sloppy, muddy roads and driveways for the renewal it brings.  Green grass growing, flowers poking their heads from the earth, leaves sprouting on trees and birds singing their joyous tunes.  Everyone thankful for this wondrous time of year.

And, let's not forget another of my favorite things that Sprintime brings - grilling!  At the first hint of warmer weather, I dust off my barbecue grill and get ready for the next few months of cooking anything and everything on it.  Brace yourself, there will probably be a lot of recipes revolving around the grill popping up on the blog. 

The timing of today's recipe was perfect with the weather.  I have been seeing honey chipotle barbecue sauce on a lot of menus lately, and wanted to throw my hat in the ring.  I have a recipe for a Jack Daniels barbecue sauce, which is my husband's favorite and my go-to sauce, but I am really digging the whole "sweet meets spicy" concept.  With the sun shining brightly, I whipped up a large batch of sauce and prepared the grill.  My husband wanted burgers, so I made those, happily slapping some of the honey chipotle goodness on top.  They.  Were.  Awesome!  Partly because we were in withdrawal for anything on the grill, but the sauce did play a huge role, as well.

Now, I made my sauce at a medium spice level, but it can easily be adjusted to your individual preferences by adding or subtracting some chipotle peppers and adobo sauce.  Although, you can't leave the chipotle peppers out altogether.  I created this recipe around them paired with honey.

Here's your Cast of Characters.


2 - 15 Oz. cans tomato sauce
1 - 12 Oz. can tomato paste
1 Cup chicken broth
1/3 Cup apple cider vinegar
1 1/2 Cups honey
1/4 Cup Worcestershire sauce
1/2 Cup good whiskey (I used Pendleton)
1/2 Cup molasses
1/2 Cup brown sugar
2 Tbsps. liquid smoke
2 Chipotle peppers, diced
2 Tsps. adobo sauce
1 Tbsp. dried onions
1 Tbsp. Lawry's seasoning salt
1 Tsp. black pepper
2 Tsps. onion powder
2 Tsps. garlic powder
2 Tsps. cumin
1 Tsp. Hungarian paprika
1 Tsp. Chili powder

Add all ingredients in a large pot. 


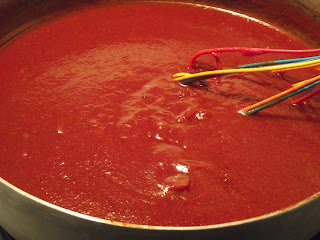
Whisk together, until thoroughly combined.  Bring to a boil.


Cover and reduce heat to medium-low.  Simmer for 30 minutes - 1 hour.

 
Now it's gone from that bright red to a beautiful dark rust.  Perfect!


It makes a large batch, about 2 quarts, but it will last in the fridge for 2-3 weeks, as long as it's in an airtight container.

Add to burgers, ribs, chicken, pork chops - anything your little heart desires!


Enjoy!

Tuesday, April 23, 2013

Chocolate Peppermint Coffee Creamer

One of the nice things about my new job is that I am able to work from home when my children are sick.  That's a huge plus, considering my son seems to get strep every time he HEARS that someone else has it.  Although, this time it was my daughter who was the culprit, which is really unusual.  Thankfully, I had my trusty laptop and was ready to get to business, with one little problem.  I have suddenly become a java junkie.  I need a minimum of 2 cups of good, strong coffee in the morning just to get my brain jump-started, but creamer is a must.  I normally have some at home, but last week I ran out at work and didn't want to make a special trip to the grocery store so I borrowed from Peter to pay Paul.  This was not good!  MUST HAVE COFFEE!

I thought about making the salted caramel creamer, but have really been in a peppermint patty kick lately.  Hmmmm, let me think about this for a second.  Yes, I think I can make something like that.

Here's your Cast of Characters.


2 Tbsps. unsalted butter
1/8 Cup cocoa
1 Cup fat-free half and half
1/8 Cup sugar
1 Tsp. peppermint extract

In a small saucepan, melt butter over medium heat, and add cocoa.


Whisk in half and half and sugar.  Cook for 5 minutes, stirring frequently, until it has heated through and sugar has dissolved.


Add peppermint extract and stir well to combine.

Use immediately or refrigerate for 2-3 days, stirring well before each use.


Enjoy!


Sunday, April 21, 2013

Weekend Cooking Tip

When deep-frying, use a wooden skewer or chopstick to dip in the oil.  If bubbles form immediately around it, the oil is hot enough.

Thursday, April 18, 2013

Sunny Morning Lemon Muffins

Sunday morning was the beginning of yet another snow storm here.  So, how did I respond to that?  Well, I made these Sunny Morning Lemon Muffins and proceeded to run headlong into my delusion that the sun was shining upon a green lawn bordered by tulips.  Hey, if I'm going to be delusional, I'm going to make it good!

Did it work?  Not so much.  They were wonderful, lemony muffins but didn't contain any magical properties that made it Springtime while we were eating them.  Pity.  I could have made a fortune.

What these muffins did do, however, was taste fabulous.  They were good fresh out of the oven, but even better when they had cooled down and the flavor been allowed to deepen.  I caught my husband, who is not a huge lemon fan, snagging them every time he walked by the container.  That's how good they are.

Here's your Cast of Characters.


1 Cup unsalted butter, softened
2 Cups sugar
3 Eggs
1 Tsp. vanilla extract
1 1/2 Cups sour cream
1/2 Cup lemon curd (which can be found in the jelly and preserve section of your grocery store)
1/4 Cup lemon juice
3 1/2 Cups all-purpose flour
1 Tsp. baking soda
1/2 Tsp. baking powder
1/2 Tsp. salt

Cream butter and sugar together, until light and fluffy.


Add eggs, one at a time, beating well after each addition.


Add vanilla, sour cream, lemon curd and lemon juice; mixing well.


Add dry ingredients.  Start by mixing on low, scraping the sides of the bowl, and gradually increasing the speed to medium until thoroughly combined.


Spray muffin tins with nonstick cooking spray and spoon batter in.  Fill only 2/3 full ( I got carried away and they were hard to get out of the pan without the top coming off).


Bake in a 350 degree oven for 20-23 minutes, or until a toothpick inserted in the center comes out clean.  Be careful not to overcook, making them dry.  If you are making mini muffins, bake 12-15 minutes.

While they are baking, make a lemon drizzle.


Whisk together 2 cups powdered sugar, 2 Tbsp. lemon curd and 1/4 cup lemon juice.


Make sure that there are no lumps, and it's nice and smooth.


Once muffins are done, let them cool for about a minute before loosening them with a knife and taking out of the pan.


Place on wax paper and drizzle your glaze over the top.


You can eat right away, but I really preferred them cold.


Enjoy!

**Update:
I meant to say this when I originally posted, but this recipe makes a large batch.  As in 2 1/2 dozen regular size, which is good because they still don't last long enough, at least not in my house. **